Rockitudeness
This tutorial was written on May 14,2013.
Any similarities to another tutorial is purely coincidental.
All my tutorial are register with My Free Copyright.
Please do not claim as your own.
This tutorial writer assumes you have a working
knowledge of using Paint Shop Pro.
This tutorial was done in Paint Shop Pro9,
but can be adapted to use in other
Paint Shop Pro versions.
SUPPLIES NEEDED
Tube of choice: I'm using the awesome work of Gaetano DiFalco.
DiFalco is no longer in the psp community
please use another tube
Scrapkit of Choice: I am using PTU Honored Scraps Rock It Roll It
You can purchase it HERE ...Thanks Patty
Template of choice:I am using Divine Intentionz Template #375
You can download it HERE...Thanks Missy
Mask of Choice: I am using Whips Mask #501403
I can not share this...please use another mask
Filters used:Eye Candy 4000 gradient glow - HERE
penta.com - Dot and Cross - HERE
Visual Manipulation -Dither - HERE
Font for Name is Dotumche
Copy write is always done in Pixelette HERE
Drop shadow use through out H-2/V-2/O-60/B-6.85
Please leave a thank you when you downloading for supplies.
my tag is just a guide...please use your imagination
and make the tag your own you do not have to
use any of the supplies I used.
LET'S BEGIN
Open up Template and ShiftD and close original...delete
copyright layer/close all layers/copy/paste paper of choice
resize to fit canvas/layers/load/save mask/find your mask
and set with these setting/click ok
On the following raster layers follow these directions...
activate thin rectangle layer/copy/paste paper of choice/resize
paper/selections/invert on rectangle layer/delete on paper layer
merge down/add drop shadow/recolor word art and dotted line to match
tag
activate double rectangle layer/copy/paste paper of choice/resize
paper/selections/invert on rectangle layer/delete on paper layer
merge down/effect/penta.com-dot and cross with these setting/click
ok/add drop shadow
activate circle 1 layer/copy/paste paper of choice/resize paper
selections/invert on circle layer/delete on paper layer/merge down
add drop shadow
activate circle 2 layer/copy/paste paper of choice/resize paper
selections/invert on circle layer/delete on paper layer/merge down
add drop shadow
activate thin rectangle layer/copy/paste paper of choice/resize
paper/selections/invert on rectangle layer/delete on paper
layer/merge down/add drop shadow
activate inside oval layer/copy/paste paper of choice/resize paper
selections/invert on oval layer/delete on paper/layer/merge down
recolor oval frame to match tag/add drop shadow
activate frame back layer/copy/paste paper of choice/resize paper
selections/invert on frame back layer/delete on paper/layer/merge
down/leave frame as is/add drop shadow
copy/paste tube of choice/place where it would look best to you
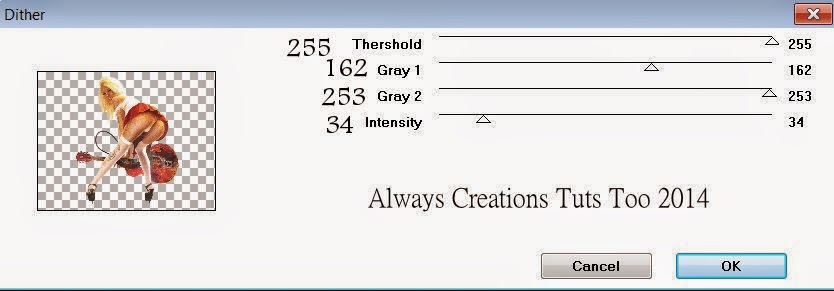
effects/visual manipulation/dither with these setting/click ok
lower opacity to 68 %/copy/paste tube of choice again/place on top of
first tube/lower/opacity to 96/add drop shadow to bottom tube
add any other elements you wish to use/resize if needed/add drop
shadow to each element/place where they will look best
add your watermark and copyright credits/give it a slight gradient
glow.....now give your tag to a friend.
You're done...thank you for trying my tutorial
please send me a copy so that I can show case it on my blog
send to.... riggsbee53@gmail.com


No comments:
Post a Comment