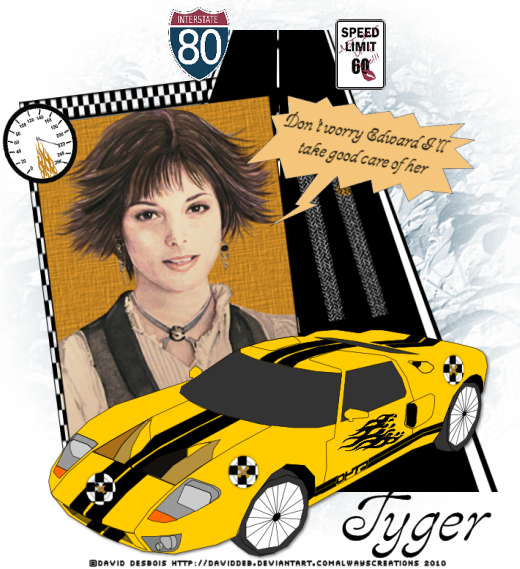
Love Story
This tutorial was written on August 11th 2011.
This tutorial was written on August 11th 2011.
Any similarities to another tutorial is purely coincidental.
All my tutorial are register with My Free Copyright.
All my tutorial are register with My Free Copyright.
Please do not claim as your own.
This tutorial writer assumes you have a
This tutorial writer assumes you have a
working knowledge of using Paint Shop Pro.
This tutorial was done in Paint Shop Pro9,
This tutorial was done in Paint Shop Pro9,
but can be adapted to use in other
Paint Shop Pro versions.
Paint Shop Pro versions.

SUPPLIES NEEDED
Tube of Choice: I am using the awesome artwork of David Desbois..
Please do not use without a license to do so
Scrapkit of Choice: I am using a Broken Sky Designs PTU Scrapkit - Love Story.
You can download it HERE....Thank you Tonya
You can download it HERE....Thank you Tonya
Template of Choice: I'm using a template by Additive Pleasures #45. You can get it HERE.
Thank you for the Share Tammy
Mask of Choice: I'm using Art mama #05. Place in your mask folder.
You can get it HERE. Thanks Art mama
Filter Used:Eye Candy 4000 gradient glow/Penta.com -dot and cross...
Drop shadow use throughout H-2/V-2/O-50/B-5.00
Please leave a thank you when you downloading for supplies.
my tag is just a guide...please use your imagination and make the tag your own
you do not have to use any of the supplies I used.
LET'S BEGIN
Open template/shiftD/close original template.Remove background and credits.Close
out every layer. Choose paper of choice/paste underneath all layers. Go to layers/
load/save mask/load mask from disk/find your mask of choice and paste with these
setting
out every layer. Choose paper of choice/paste underneath all layers. Go to layers/
load/save mask/load mask from disk/find your mask of choice and paste with these
setting

merge group.
leave mask layer as is/change blend mode to soft light
activate big circle/copy/paste paper of choice/resize/go to circle layer
invert/go to paper layer/delete/merge down/add drop shadow/go to selection
float/defloat/copy tube of choice/resize if needed/go to circle layer/invert/
go to tube laywe/delete/add drop shadow to tube
activate strip/copy/paste paper of choice/resize/go to circle layer/invert/
go to paper layer/delete/merge down/add drop shadow
activate strip2/copy/paste paper of choice/resize/go to circle layer/invert/
go to paper layer/delete/merge down/add drop shadow
activate rectangle layer/copy/paste paper of choice/resize/go to circle layer/invert/
go to paper layer/delete/merge down/add drop shadow
activate rectangle2 layer/copy/paste paper of choice/resize/go to circle layer/invert/
go to paper layer/delete/merge down/add drop shadow
activate rectangle3 layer/copy/paste paper of choice/resize/go to circle layer/invert/
go to paper layer/delete/merge down/add drop shadow
activate rectangle4 layer/copy/paste paper of choice/resize/go to circle layer/invert/
go to paper layer/delete/merge down/add drop shadow
activate small circle layer/copy/paste paper of choice/resize/go to circle layer/invert/
go to paper layer/delete/merge down/add drop shadow
activate medium circle layer/copy/paste paper of choice/resize/go to circle layer/invert/
go to paper layer/delete/merge down/add drop shadow/go to selection/float/
defloat/copy tube of choice/resize if needed/go to circle layer/invert/
go to tube layer/delete/keep activated/now go to penta.com-dot and cross with these setting

add any other elements you wish to use/make sure you add a drop shadow to each element.
place your main tube where you want it/add drop shadow.(see my tag if needed)
place your main tube where you want it/add drop shadow.(see my tag if needed)
Add your copyright and watermark-(I put a slight gradient glow on mine)
and give your tag to a friend
thank you for trying my tutorial..please send me a copy of what you did
so I can showcase it
...riggsbee53@gmail.com